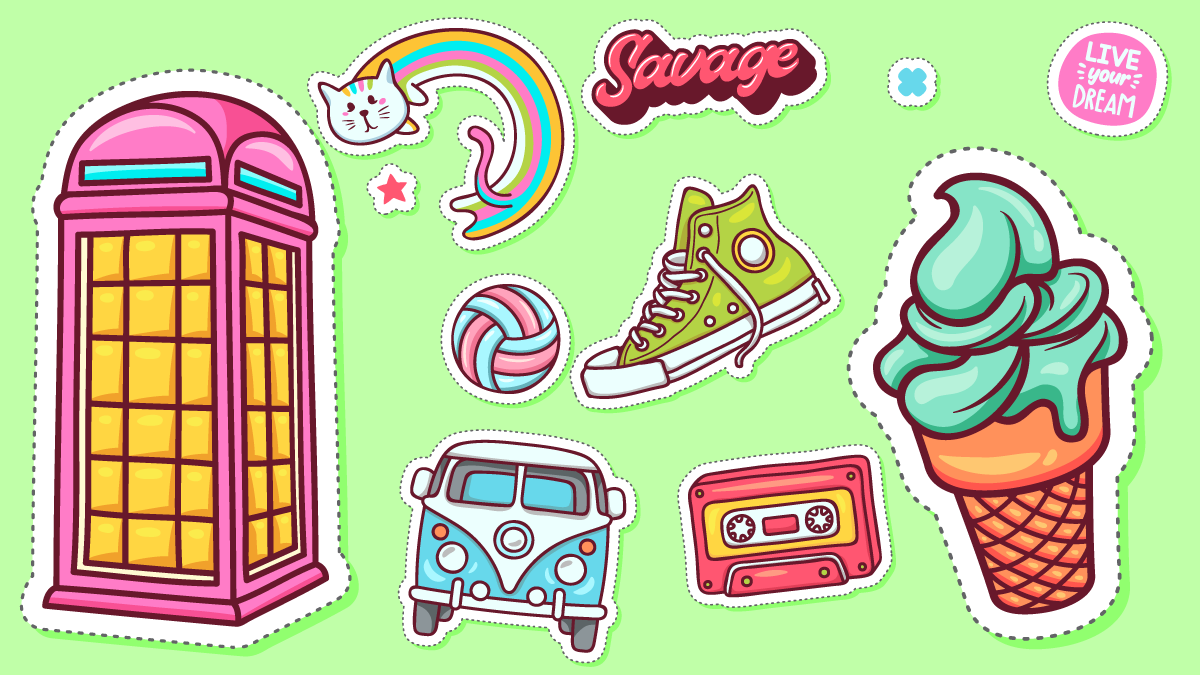
Do you have some amazing designs you would love to print onto stickers? Or did the countless etsy stores inspire you to look up how to create your own stickers? Maybe you are a little bit lost when it comes to kick-starting the sticker printing process at home?
We are here to help you out. Our ultimate guide to sticker printing at home will teach you everything you need to know when it comes to printing your own stickers, including the equipment and materials you need and how to go about designing your own artwork. Stickers can be used for a variety of purposes – as decorations, marketing strategy, giveaways and many others.
The best thing about printing custom stickers is that you are in complete control of the creative as well as the production process. This ensures that you will create one-of-a-kind pieces instead of having to rely on generic designs.
So, without further ado, let us jump right into the process.
1. Get creative: Designing your stickers
Having a great design is essential for creating an amazing sticker. If you are a designer, you probably already have a few designs ready to go or have the correct software to create high-quality artwork.
Not having access to professional software should not stop you. There are great free tools available that allow you to create your own designs. Canva is one of the best out there, and it will only take you minutes to master. Many platforms also offer pre-designed elements and templates.
It is helpful to keep the quality standards professional printing companies have in mind to make sure you will get a great result.
- Ensure your text is legible by adhering to a minimum height of 1.2mm or 8pt, depending on the font used.
- Use a vector file. These are made of shapes and lines which allows for a crisp print.
- If you are using an image instead, ensure the resolution is at least 300 dpi. Dpi stands for dots per inch. An image consists of dots, also called pixels. The more dots per inch, the better the quality of your bitmap.
These tips can save you a lot of time and frustration when printing your own stickers.
2. Find the perfect material
All you need is an adhesive-backed material. Finding these is a lot easier than you might think; a quick Amazon search will deliver many different results. However, a little more information about the materials you can choose from cannot hurt.
Before choosing your material, you need to know what you will be using your stickers for. Will they be exposed to water? Do they have to be scratch-resistant? How long do you need them to last?
Based on your answers to these questions, you can either go with paper-based or vinyl stickers. Paper stickers are ideal for indoor, short-term uses. As they are made out of paper, they are usually compostable, which is amazing. Vinyl stickers are, on the other hand, more resistant to scratches, sunlight and water and can be used outdoors for several years.
You can even find great effect materials like holographic or fluorescent vinyl. These are amazing if you want your stickers to be real eye-catchers. Just look at the glitter sheets below, super sparkly.
3. Start printing
Once you have your designs ready and your perfect material has arrived, you are ready to start printing. A simple desktop printer will be just right to print stickers, you just need to make sure it takes the material.
If you do not own a printer or would like to invest in a new one, we have collected some suggestions for you:
- The Epson XP-7100 is the ideal entry-level printer and costs around $300.
- Are you looking for something more professional? Then the Canon PIXMA PRO-100S for $530 might be the one for you.
If you are planning on selling your home-made stickers, an investment like this can be absolutely worth it and help you to create a great print quality and vibrant colors.
4. Cut them in any shape
After you have printed your stickers, you can cut them to shape. Scissors will absolutely do the trick depending on the shape you are going for. If you are after simple, classic shapes like circles or squares, you can find pre-cut sticky labels on sheets on Amazon. After printing on them, you can simply peel them and are ready to go.
Maybe you want a more custom cut? Then it is easiest to cut them into shape yourself, as it can be tricky to find pre-made labels or shapes for individual cut lines. By cutting them yourself, you can create your own die-cut stickers within minutes.
And that is it, the complete guide to printing stickers at home. If we inspired you to give this a try, we would love to see your results in the comments below. However, if this process sounded like too much hassle for you, there is an alternative: after creating your design, you can reach out to a professional printing company and then simply lean back until your stickers arrive.

