In this guide you’ll find step-by-step instructions on the easiest way to record videos directly from your screen in Windows 10.

Nowadays being able to record videos from your screen has grown to be immensely useful. Just as taking screenshots (i.e. images of your screen) has become commonplace, recording videos is becoming just as popular – especially seeing as it will let you save online streaming videos, Skype calls, and anything else from your screen.
To begin with however, you’ll need a Windows 10 screen recorder – which is where Movavi Screen Capture Studio comes in. It will give you the means to record videos, but more importantly will help make it as easy as possible to do so in just a few steps:
Step 1:- Launch Movavi Screen Capture Studio and select the ‘Capture screen’ option in the main menu.
Step 2:- Resize and position the capture frame so that it encompasses the area that you want to record, or use one of the presets in the list below.
Step 3:- Set the audio source using the two icons depending on your choice of whether to record the system audio or audio from an external device such as a microphone (or both).
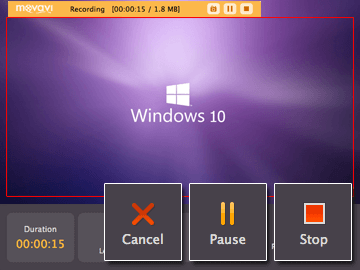
Step 4:- Click the ‘REC’ button and recording will commence after 5 seconds.
Step 5:- Click ‘Stop’ when the recording is done or set the timer to automatically stop it after a certain duration.
Step 6:- Click ‘Save’ and select a format or one of the hundreds of presets available to automatically optimize it for a device or platform of your choosing.
As you can see it really isn’t that complicated to record video footage from your screen. That is largely due to the intuitive design of Movavi Screen Capture Studio – and it extends to its other features too.
It would be worth taking a few minutes to explore and experiment with the full scope of features in Movavi Screen Capture Studio. When you do you’ll find that you’re able to cut and join segments of video, enhance the video quality, apply special effects or filters, insert customizable text, add audio tracks containing background music or voiceovers, include stylish animated transitions, and much more.
With the help of these tools you could transform the raw footage that you record into a professional-looking and polished video – if you choose to do so. Alternatively you may just want to make use of the features in Movavi Screen Capture Studio to simply trim any content you don’t need, save highlights, and so on. At the end of the day it is up to you how you choose to use it – but the options will be there should you need them.


