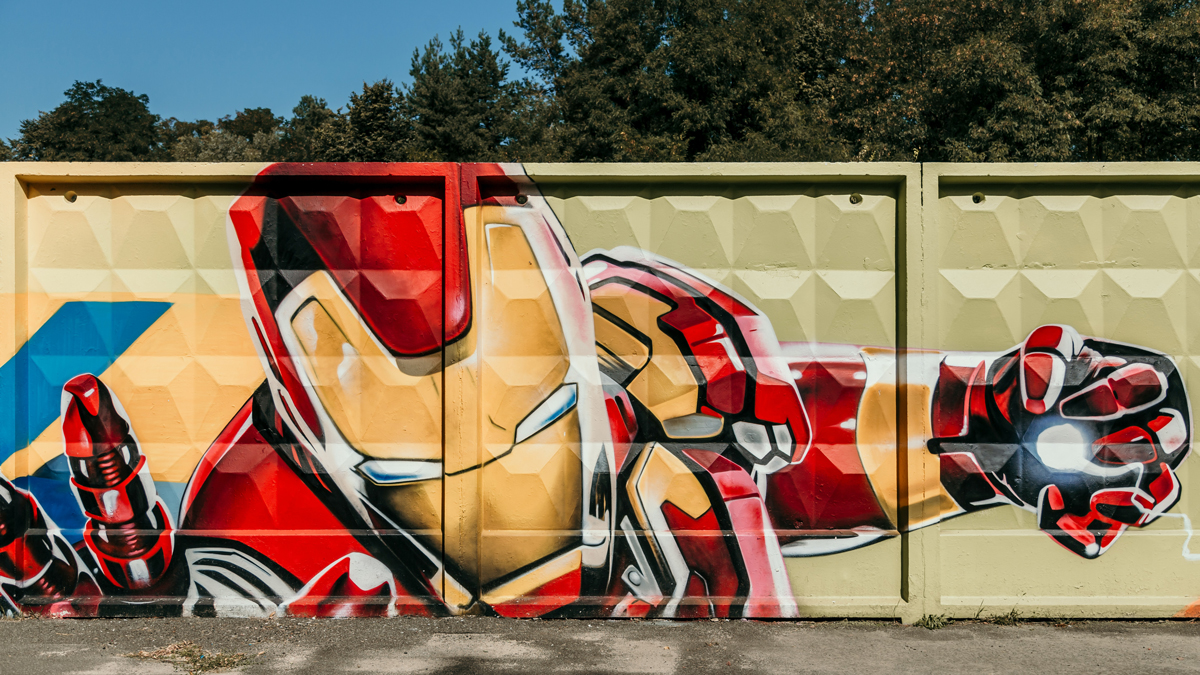
It wasn’t so long ago that all someone needed on their bedroom wall was a pull-out poster from a magazine and some Blu Tack in the corners. And sure, while the Blu Tack never worked as you hoped, leaving a mark that would never scrub off, and the poster would always have holes in the middle from where you couldn’t get the staples to open all the way when pulling it out, it was still much easier than the incredibly detailed murals and logos painted on walls these days.
Painting the likes of a Spiderman logo, Iron Man’s mask or Captain America’s shield on a wall may seem like hard work. Still, it is surprisingly easy when you know what you’re getting in for. In fact, you can do it with just some cheap paint and the last few drops of ink from your home printer.
Here is how you can paint a superhero logo, or any shape, on a wall in a foolproof manner.
Step 1: The Shape
Painting a logo, shape, or any lettering on a wall can be a daunting challenge if you don’t know where to start. If you aren’t a professional, there are typically three ways you can do it; projection, gridding, and stencilling.
Projection is the easiest of these three options, but obviously, it requires you to have a projector handy. Set it up, hook your computer up and draw on the wall to scale without any issues. Just make sure you draw your guidelines in with pencil and don’t immediately use paint to avoid mistakes.
Gridding will work for math whizzes. You measure out a grid for your logo on the wall, draw or print a grid to scale on paper over your image and match the two. It lets you break up certain elements but is best left for those who are nifty with a ruler.
Stencilling is my preferred option and doesn’t require you having to buy a stencil. Remember what I said at the start about printers? This is where you use it. Get your logo to scale on a computer and print it out to size in greyscale. The printer will give you pages to scale (like gridding but cheating), and you can then affix to the wall and work away. Some people will tape the top of each page, constantly lifting to etch the shape in. You might want to lean heavily with the pencil and pierce through the paper to get your shape on the wall.
Whatever method you use, as long as the shape can be made out before you start painting, you are good to go.
Step 2: The Paint
You’ll know what colour paint you need, but do you know what type of finish you need on the wall? It can be a bit of a balancing act to get right. You want your logo to stand out, but not like a big plastic ring on the wall. If you are hovering over a few different glosses or eggshell, you don’t need to. Draw a line down the middle and get yourself some satinwood paint.
Satin finishes on the wall will stand out well enough without being too reflective when you have lights on. Dulux paint does some great block colours in a satin finish, which are great for anyone trying to paint a large mural on the wall. Trust me on this. If you go gloss, it will look so shiny that it will become an eyesore. You sometimes see high-gloss paints used on nursery walls, and it sets in quite badly after a while.
Step 3: Protecting your masterpiece
You’ve just spent all that time masterfully drawing on the wall like you’re Michelangelo in the Sistine Chapel. If you were painting in your kid’s bedroom, they surely wouldn’t be inspired and get crayons or markers out to draw over it when you aren’t looking, right?
For some protection get clear interior varnish, also referred to as Decorators varnish which you can apply after the paint has fully dried in. Some are sold in small cans to brush on, but I would recommend using a spray can instead, as it quicker to use, needs less spray, and won’t leave any brush marks. Just make sure the room is well ventilated afterwards.
Step 4: Enjoy your handy work
There you have it. Now you know just how easy it is to paint logos and all sorts on walls without needing a professional in. Remember, you can always get tips on decorating and DIY hacks by checking all the latest Nerds at Home posts right here.


